
Digital documents are the backbone of professional and personal productivity. Whether tracking project tasks, designing interactive forms, or creating to-do lists, the simple check box has become a mainstay for clarity and organization. Microsoft Word, one of the most widely used word processors globally, offers versatile ways to add check boxes—making routine workflows more interactive and structured. Knowing how to add check boxes in Word is a skill that can improve document usability for both individuals and teams.
From educators developing assignments to HR professionals streamlining onboarding, diverse industries rely on check boxes to guide and monitor information flow. This guide unveils the step-by-step methods for integrating check boxes into Word documents, and provides context-driven insights into real-world usage and best practices.
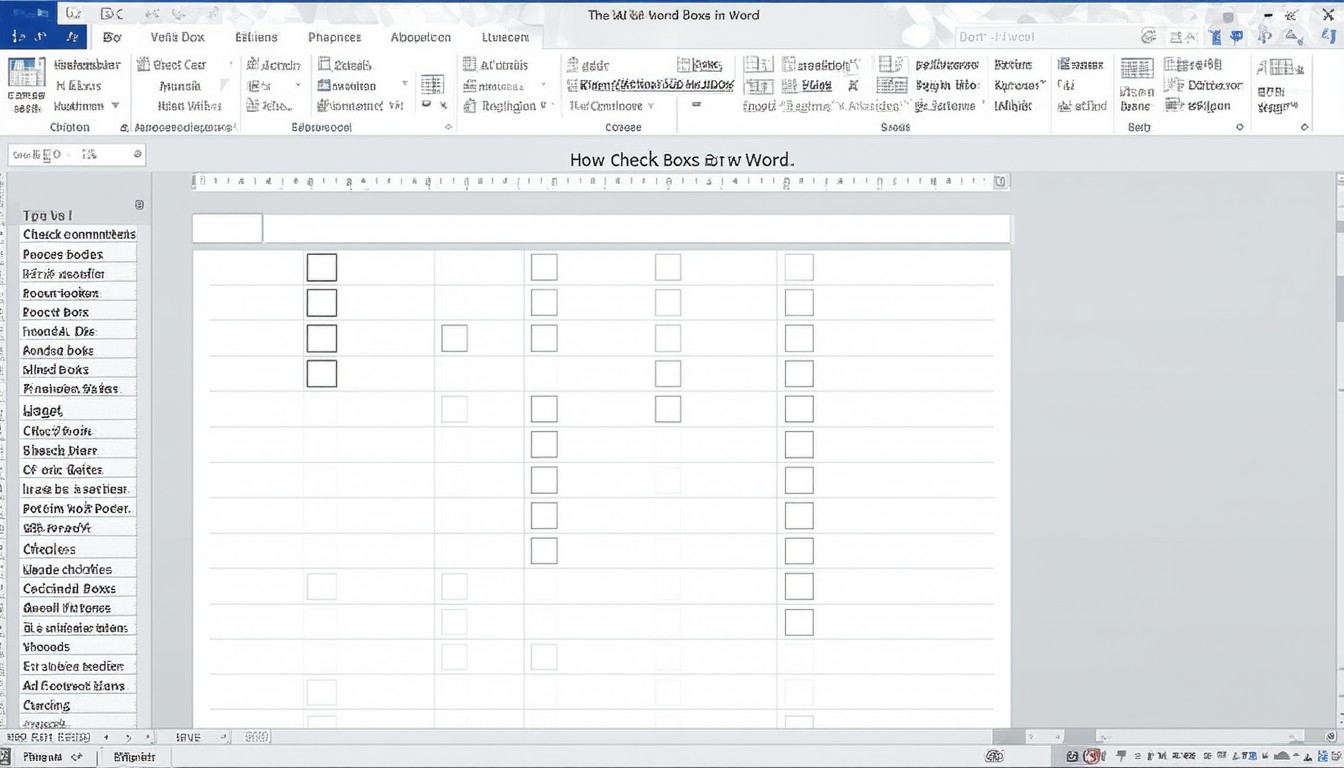
Understanding Check Boxes in Word: Types and Use Cases
Interactive vs. Printable Check Boxes
It’s essential to distinguish the two main types of check boxes you can add in Word:
- Interactive Check Boxes: Users can click to check or uncheck within the document—ideal for digital forms or collaborative documents.
- Printable (Symbol) Check Boxes: These appear as static symbols, suitable for documents intended to be printed and checked off by hand.
In practice, office managers design digital checklists for team coordination, whereas event planners might prefer printable lists for on-site tracking. A 2023 survey by TechJury highlighted that “over 60% of office professionals use checklists regularly in digital documents to boost productivity.” Word’s flexibility around check boxes supports this widespread adoption.
Step-by-Step Guide: Adding Interactive Check Boxes in Word
Enabling the Developer Tab
Microsoft Word requires the Developer tab to be enabled before creating interactive check boxes. Here’s how to activate it:
- Navigate to Options:
Open Word and click onFile>Options. - Customize Ribbon:
SelectCustomize Ribbon, then check the box next toDeveloperin the right-side list. - Confirm:
ClickOK—the Developer tab now appears in your toolbar.
“The Developer tab unlocks advanced features in Word, including the ability to create forms, insert controls, and protect content—indispensable for structured document management.”
— Lisa Grant, IT Training Lead
Inserting the Check Box Control
Once the Developer tab is enabled:
- Place the cursor where the check box should appear.
- Go to the Developer tab, and in the
Controlsgroup, click the Check Box Content Control icon (a square with a checkmark). - The check box appears in your document.
Repeat as needed for each item on your list.
Customizing Check Boxes in Word
Advanced users can change the default appearance of check boxes or restrict content editing. To do so:
- Select the check box, then click Properties in the Controls group on the Developer tab.
- Here, you can customize the symbol for checked and unchecked states, set content locks, and more.
- If you’re distributing the document, consider adding protection (via Restrict Editing) to maintain the checklist structure.
Creating Printable Checklists: Using Symbol-Based Check Boxes
Adding Static Check Boxes for Paper Forms
Printable check boxes involve inserting a symbol before each list item:
- Highlight your list items, or position your cursor where the box should go.
- Open the Home tab, click the Bullets dropdown arrow, and select Define New Bullet.
- Choose Symbol, then select the box character (commonly from the Wingdings or Segoe UI Symbol fonts).
- Click OK to apply.
This approach is commonly used in education and healthcare, where paper forms remain standard for signatures and manual tracking.
Scenario: Standardized Forms in Healthcare
For example, a hospital might generate discharge checklists with static check boxes for nurses to tick off printed tasks during patient transitions. This ensures accountability in a context where digital devices aren’t always feasible.
Advanced Tips: Enhancing Checklists for Usability
Formatting and Design Considerations
- Alignment Matters: Consistent indentation and spacing make lists more readable.
- Accessibility: Use larger check box symbols or adequate spacing for users with limited fine motor skills.
- Section Headings: For complex forms, group tasks under meaningful headings with check boxes for subsections.
Collaboration Best Practices
In shared documents (e.g., those stored in OneDrive or SharePoint), use interactive check boxes for real-time updating. However, be aware that certain interactive controls may not function identically on mobile or non-Word platforms, so always test documents on all intended devices.
Version Differences and Compatibility
Microsoft Word for Windows offers the most robust check box features. Word for Mac includes the Developer tab and content controls, but interface details may differ slightly. With cloud-based Word Online, interactive controls can be more limited; static symbols are often a more universally compatible solution here.
Common Pitfalls and Troubleshooting Check Box Issues
When Check Boxes Won’t Appear or Work
If you can’t find the Developer tab or the check box control is grayed out:
- Ensure your document is in a compatible format (e.g., .docx—not older .doc formats).
- Check for editing restrictions that might prevent modifications.
- If collaborative features don’t sync check box state across users, review sharing and editing permissions in your cloud platform.
Maintaining Form Structure During Distribution
When sending checklists to others, especially by email, use PDF export to preserve formatting and interactivity where possible. For external users or recipients on non-Microsoft platforms, static check boxes generally maintain consistent appearance.
Conclusion: Streamlining Workflows with Word Check Boxes
Mastering check boxes in Word elevates document clarity and engagement. Whether building dynamic, digital checklists or traditional paper forms, these steps enable users to incorporate structure and visual simplicity. As remote and hybrid work environments expand, leveraging Word’s check box features ensures smoother coordination and more effective task tracking. Professionals who integrate these techniques future-proof their document workflows for flexibility and clarity.
FAQs
How do I enable the Developer tab in Word?
Go to File > Options > Customize Ribbon, and then check the box for “Developer” in the right-side panel. Once enabled, the Developer tab will appear in the ribbon menu.
Can I add check boxes in Word on a Mac?
Yes, Word for Mac supports both interactive and symbol-based check boxes, though the menu locations might differ slightly from the Windows version. The Developer tab is also available in recent versions for Mac.
Are interactive check boxes supported in Word Online?
Interactive check boxes (using Content Controls) have limited support in Word Online. For maximum compatibility, consider using symbol-based (static) check boxes if your document is intended for web-based editing.
How can I make check boxes larger or more visible?
Customize the font size of the symbol-based check box, or use “Properties” in the Developer tab to adjust content control settings for greater visibility. Clear spacing and larger text also help with accessibility.
Why are my check boxes not saving their state after sharing?
Check box state retention relies on file format and editing permissions. Ensure your document is saved as a .docx, and that recipients are editing in a compatible version of Word with adequate permissions for interactive controls.
What’s the best way to create a checklist for printing?
Use the Define New Bullet feature with a box symbol to create printable, static check lists. This ensures the boxes remain visible and aligned when printed, which is optimal for paper-based workflows.


